Connection
Lets you spawn additional pipes to create a network, establish interconnections between pipe actors, and copy spline points from any actor that has a spline component as its root.
Spawn and Connect
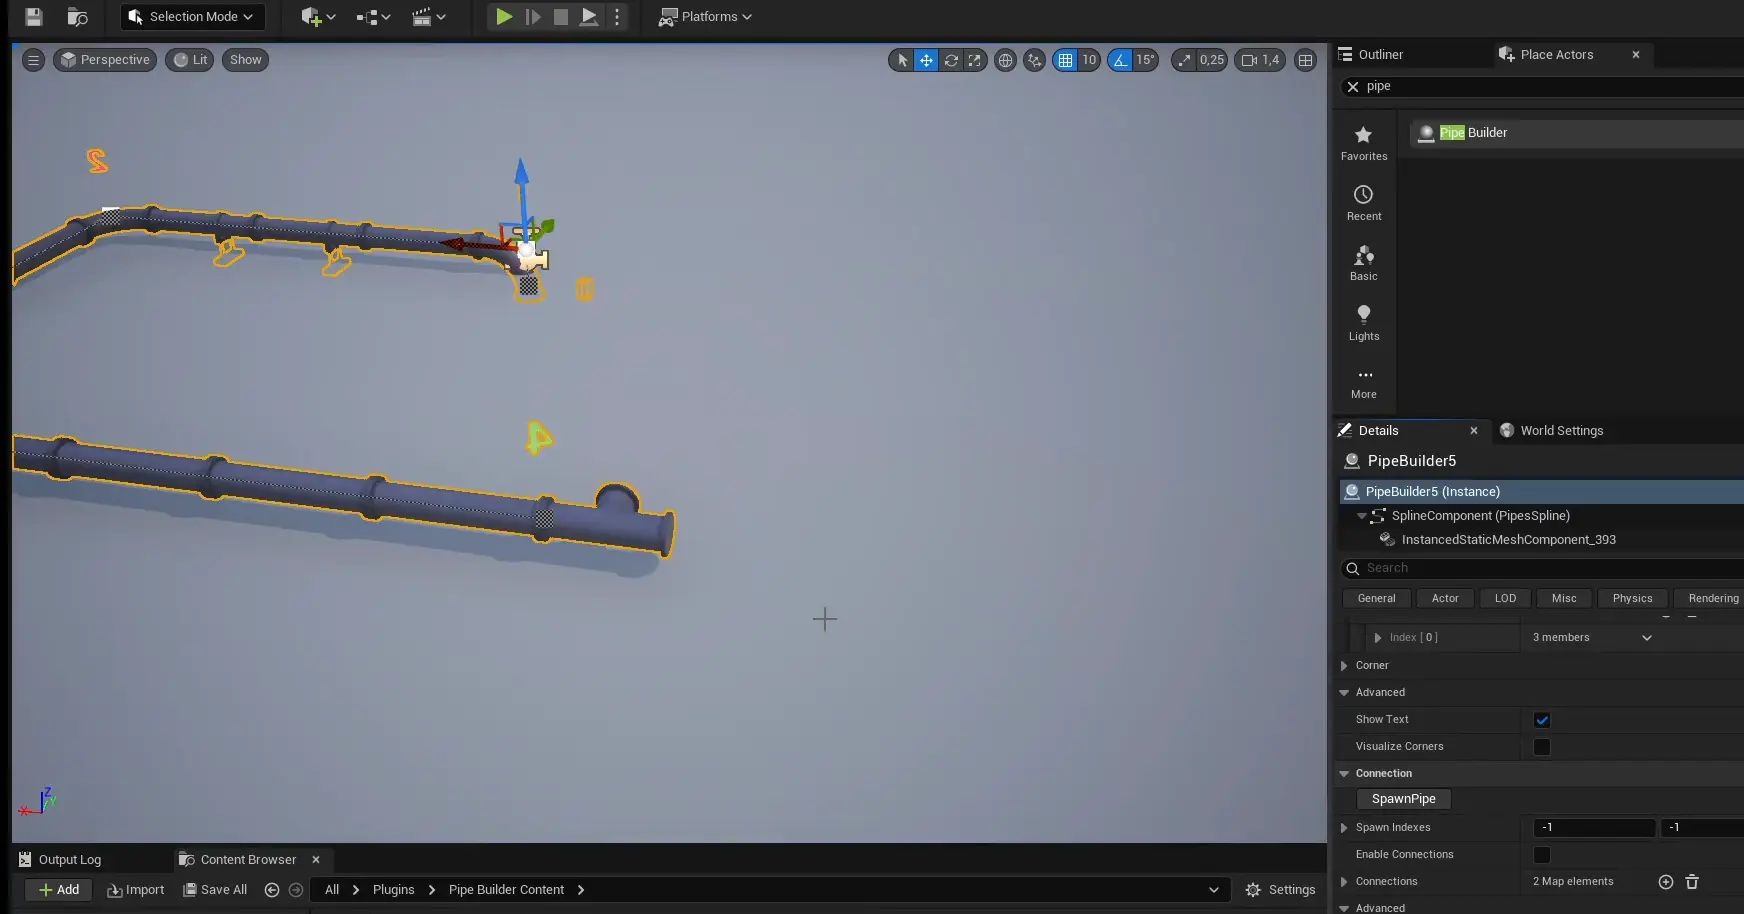
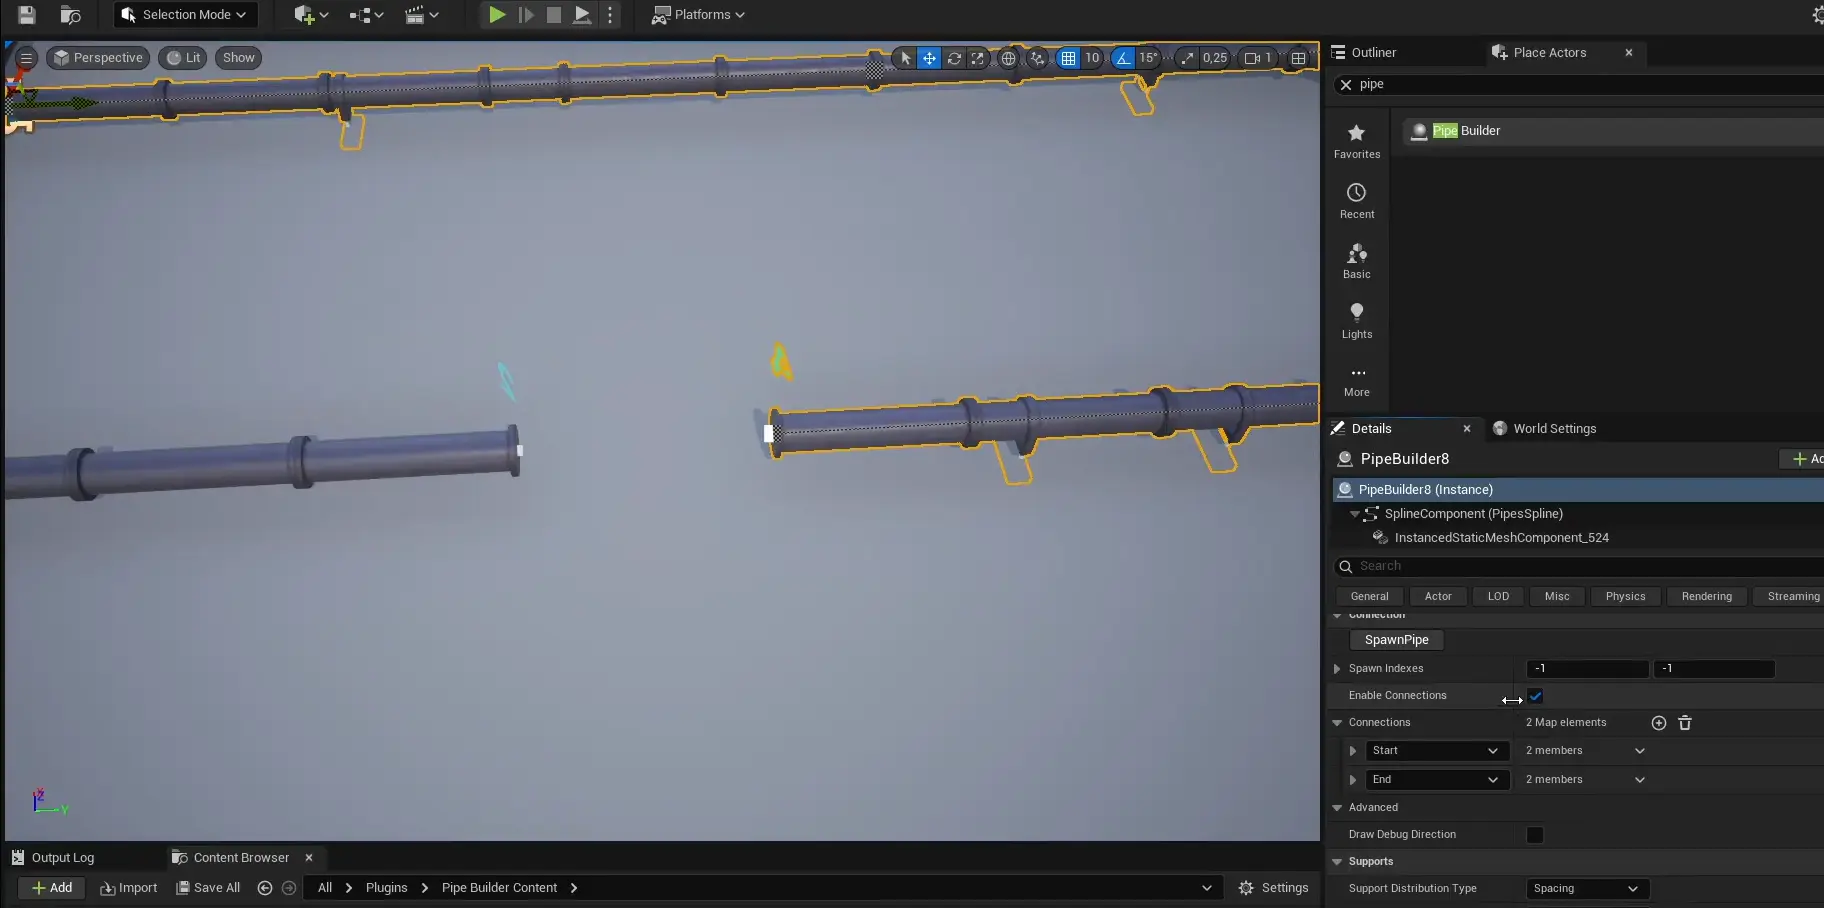
Spawn Pipe (button/event) creates a new Pipe Builder actor as a copy of the source, automatically attaching its first point to the location specified by Spawn Indexes. A preview mesh appears when a valid spawn index is set, providing visual feedback for connection points.
| Variable | Default | Description |
|---|---|---|
| Spawn Indexes | (-1, -1) | X = spline point index, Y = optional junction socket mesh index. If the point has no junction mesh, spawn transform defaults to the spline point. If a junction exists, transform is taken from the specified socket. Set Y to -1 to use the point transform. |
| Enable Connections | false | Master toggle for the connection system. |
| Connections | (Start, End) | Defines links to other pipe actors. • Actor: Target Pipe Builder actor • Connect Indexes: X = target spline point index, Y = optional target socket index |
| Draw Debug Direction | false | Editor-only Visualizes the direction of the socket selected in Spawn Indexes. |
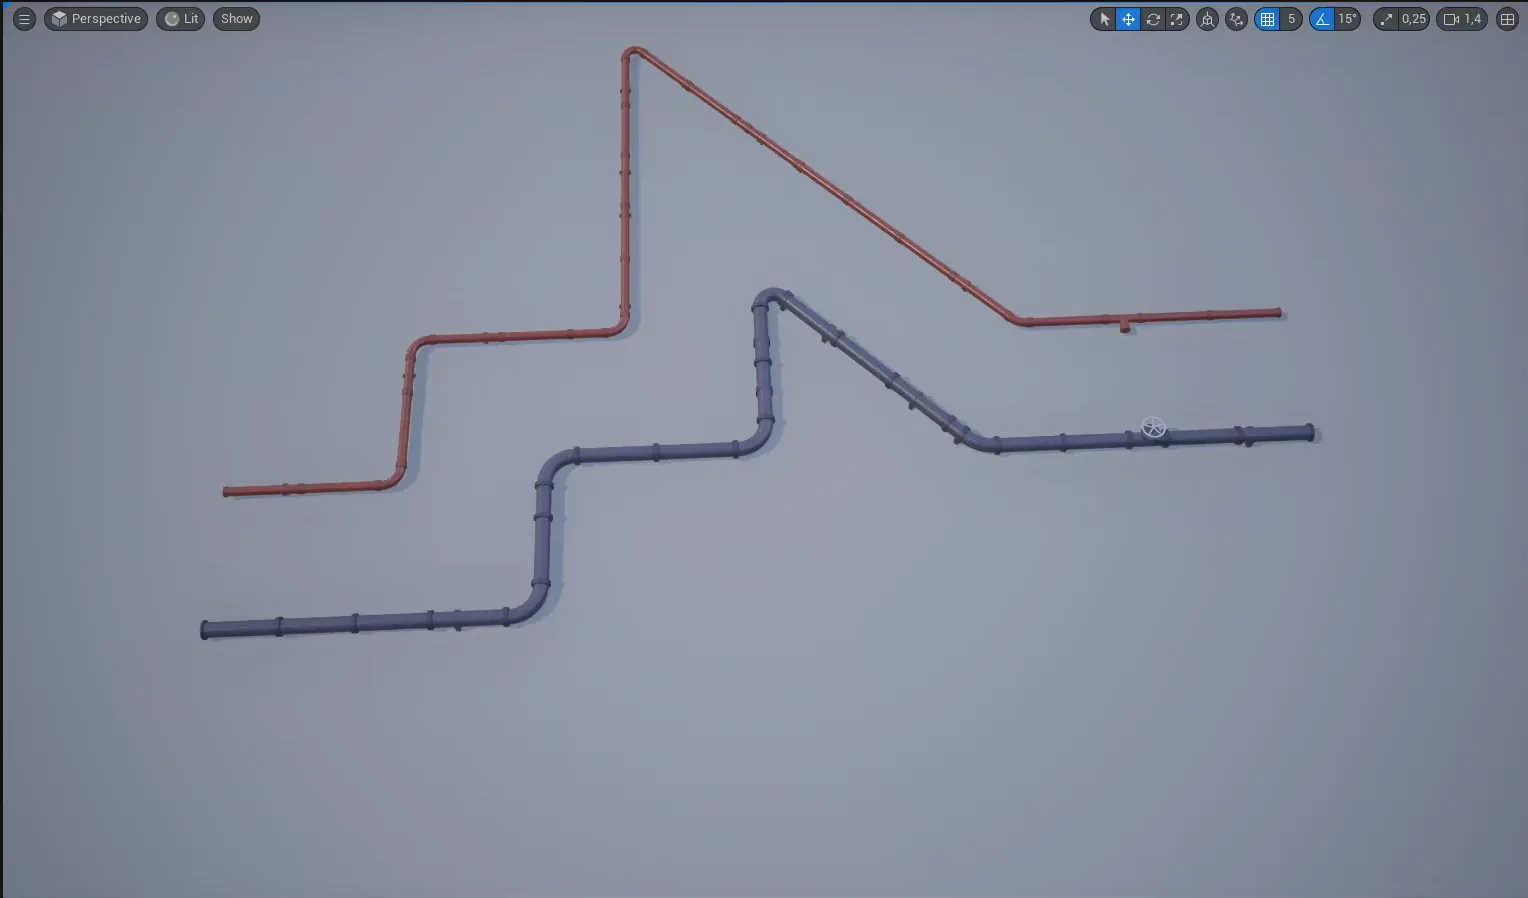
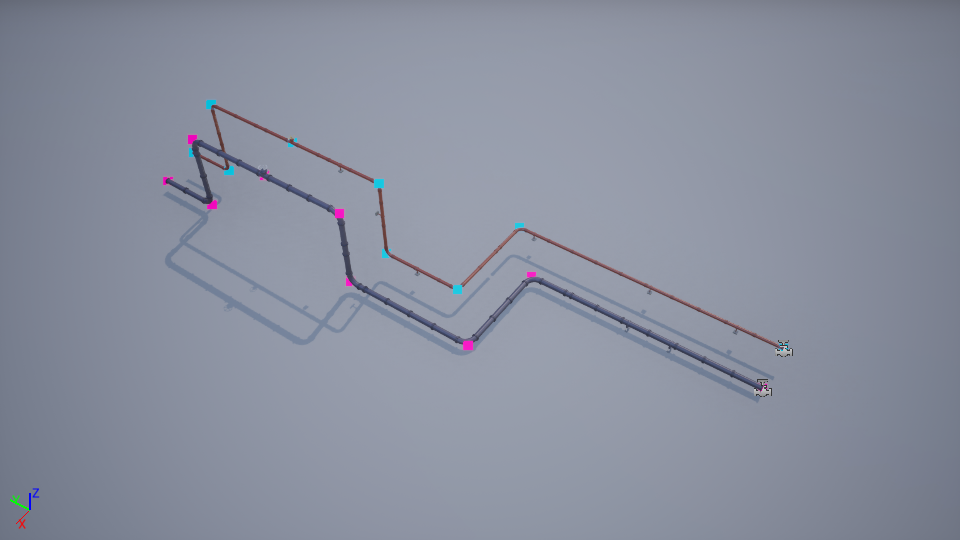
The example below illustrates a completed connection and highlights the benefits of working with interconnected pipes.
Target Copy Actor
Allows you to copy spline points from any other actor whose root component is a Spline Component (e.g., an another pipe actor). This is useful for automatically aligning with existing actors without manual point placement. If the target actor’s spline is a closed loop, this property is also copied.
Target Copy Offset
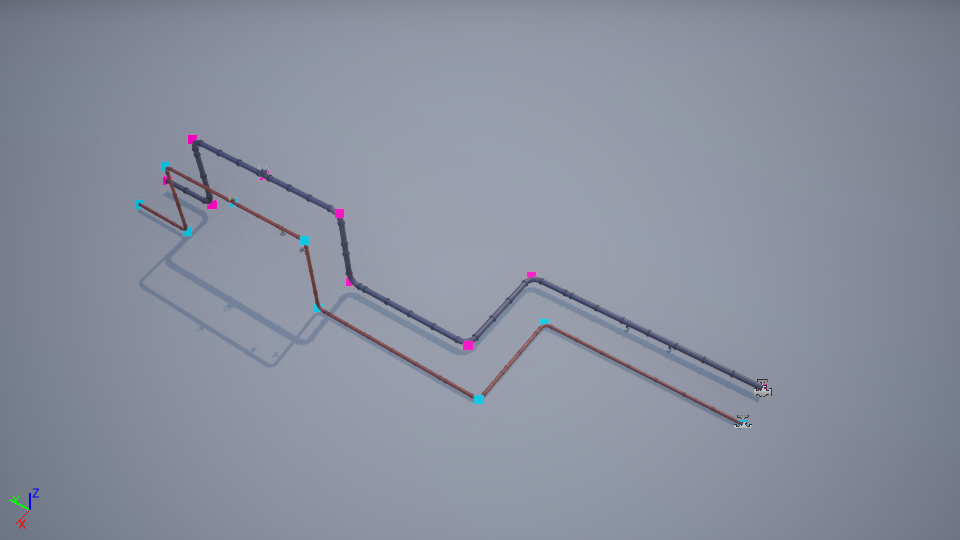
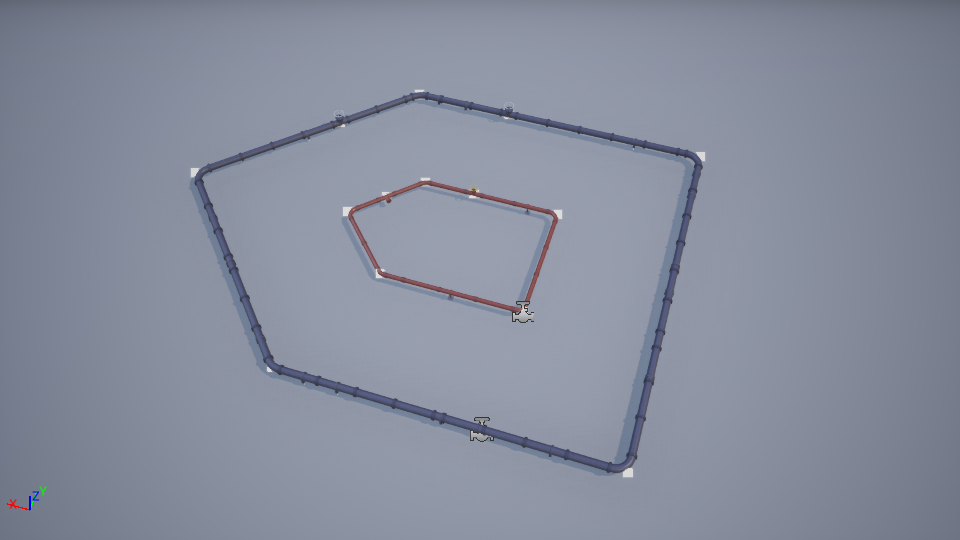
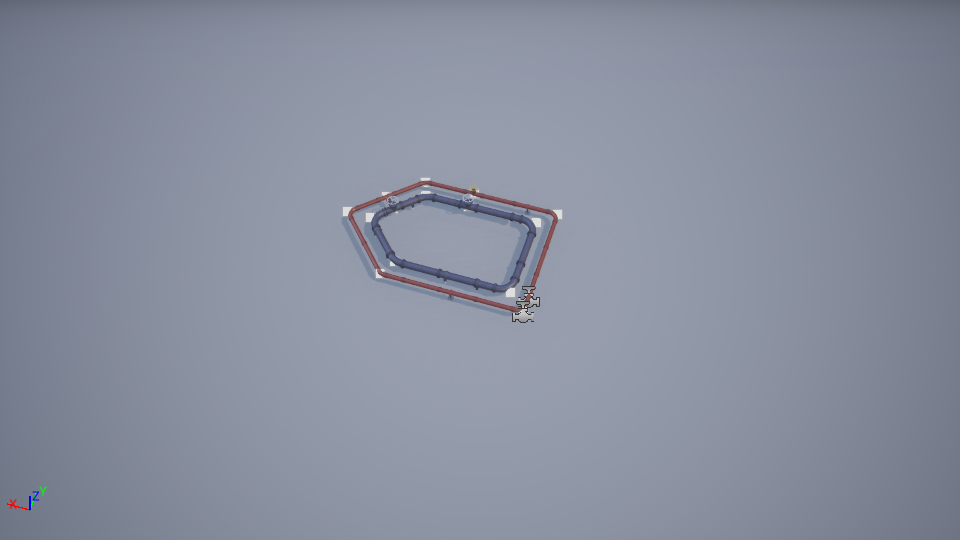
A vector offset applied to all points copied from the Target Copy Actor. Below are visual examples of applying an offset.
Custom Pipe Builder Actor
You can create your own custom actor by extending native pipe builder class to set your preferred default values and data asset.
To create a custom Pipe Builder actor, follow these steps:
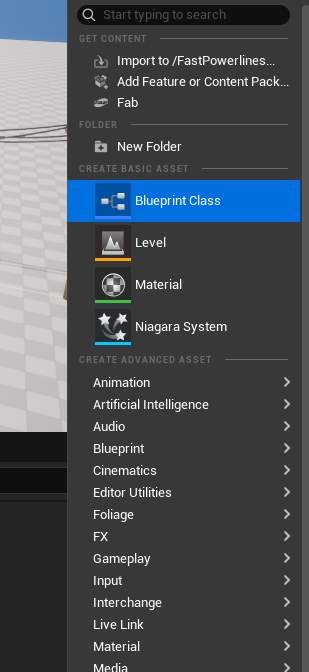
Create a Blueprint Class
Right-click in the Content Browser and select Blueprint Class.
Choose the Native Pipe Builder Class
In the Pick Parent Class window, type pipe in the search bar. Select the Pipe Builder class as shown below, then click Select. Enter a name for your new custom actor.

Configure Default Values
Open your new Blueprint and customize its properties (like cable settings, materials, or spline defaults) to fit your project’s needs.