Custom Meshes
Several important requirements apply when using custom meshes. While many marketplace assets are compatible, most will require pivot or rotation adjustments—either in an external DCC tool or directly within Unreal Engine.
Requirements
- All fitted corner meshes must point upward along the Z axis, as illustrated below.
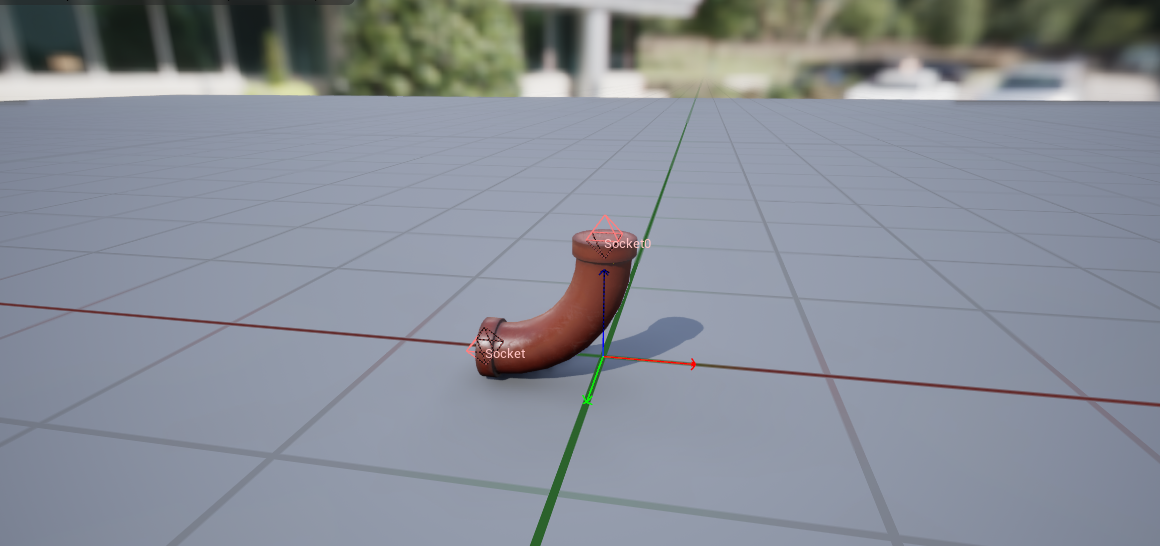
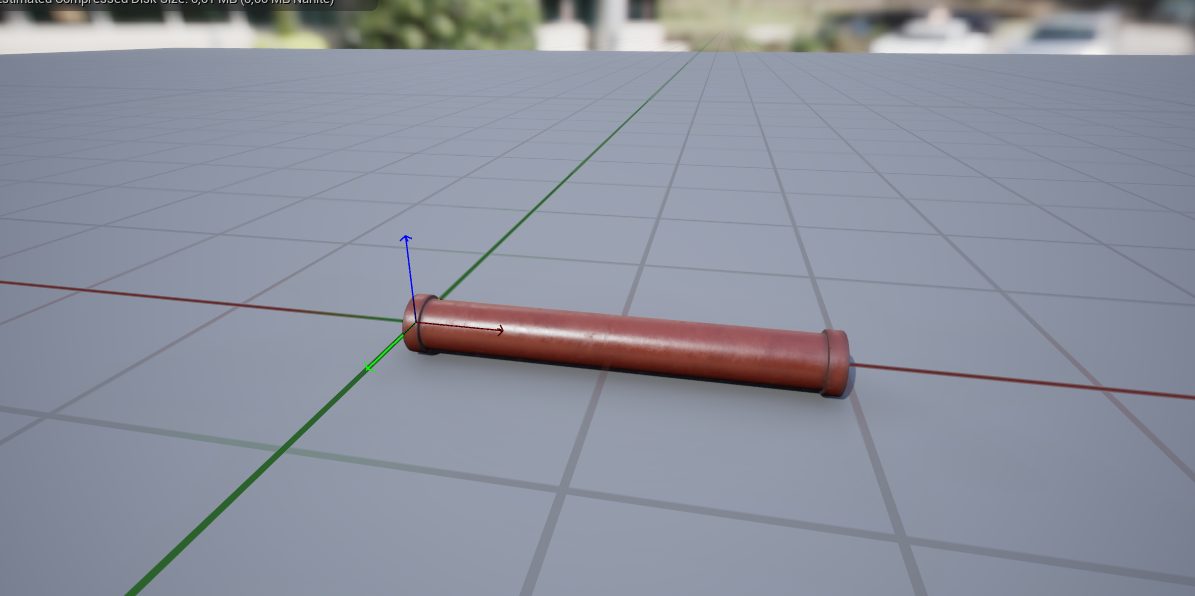
- Forward axis must align with X, and the pivot point must be positioned at the mesh’s start, not its center.
Corner Mesh Pivot Placement
Corner meshes require specific pivot points and socket locations to handle interconnections and pipe spawning. These vary depending on the angle. I determined them through trial and error; examples are provided below.
Initially, pivots were placed at the mesh start—consistent with straight segments. However, in that case corner meshes required an offset when placed at a spline point. The offset value is not constant; it depends on both the pivot location and the spline point’s rotation. This complexity led to the pivot strategy documented below.
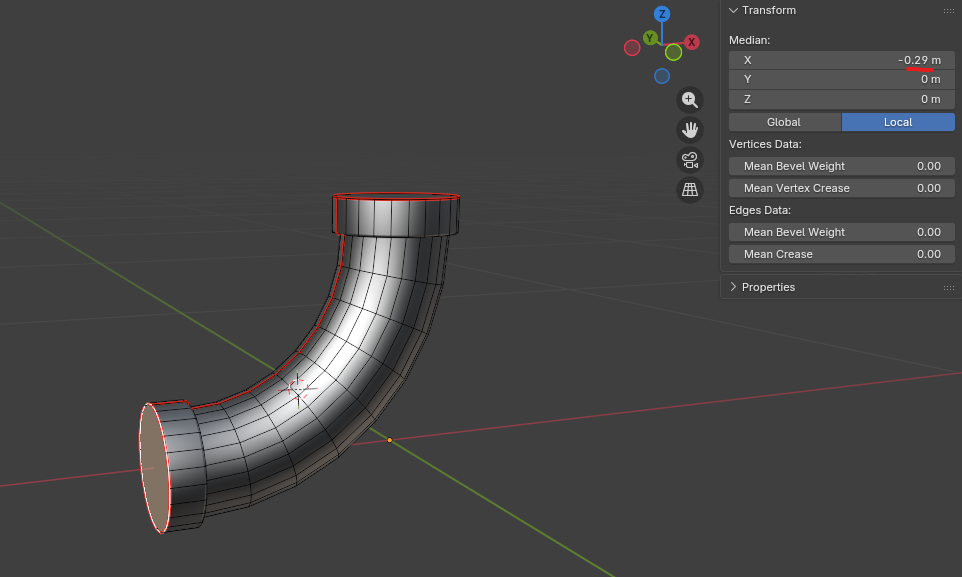
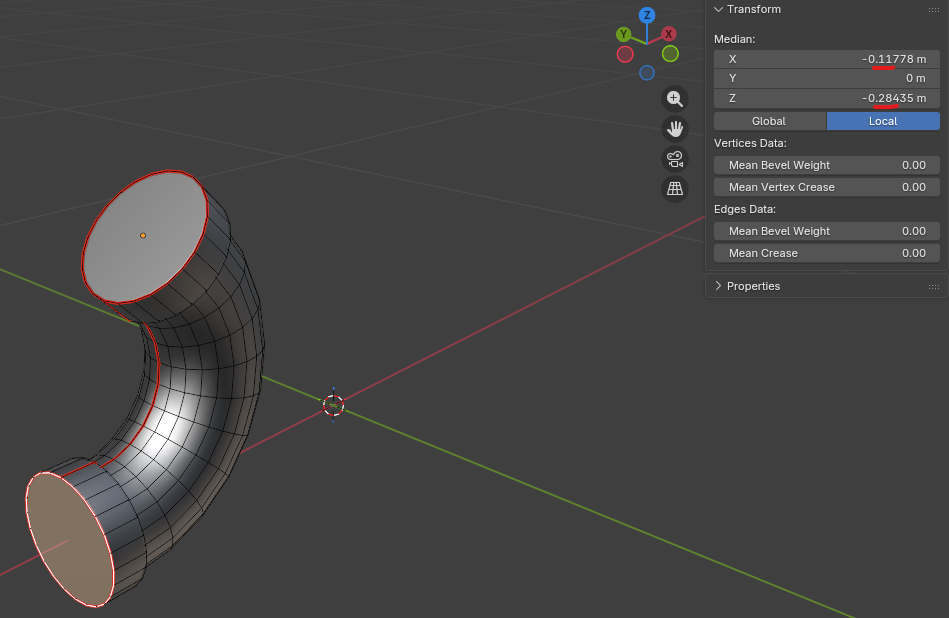
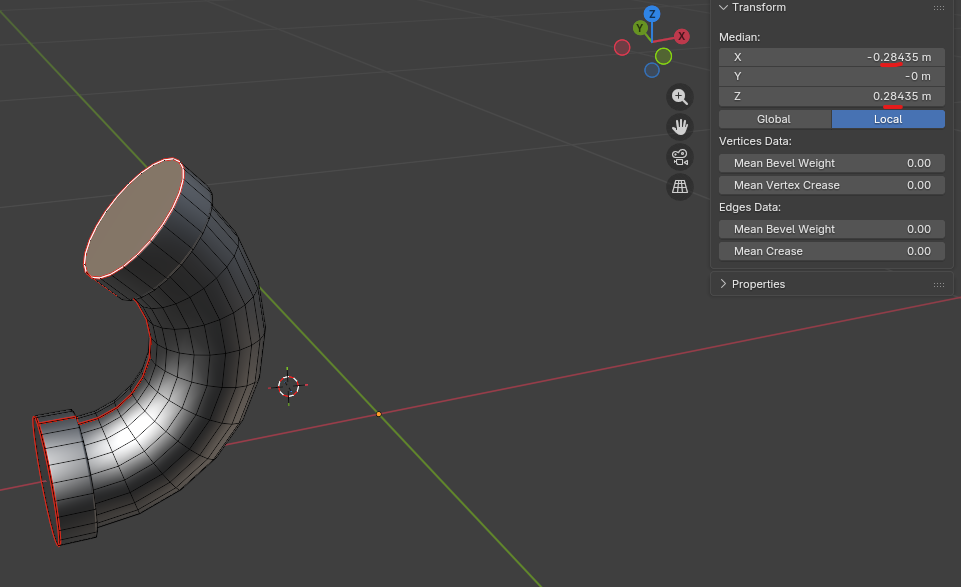
90-degree corner – Pivot is Centered between start and end points.
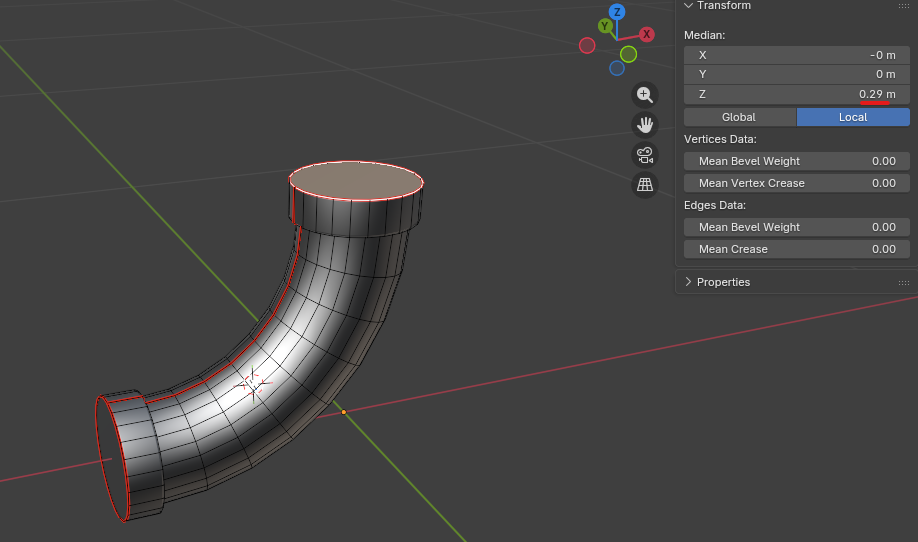
45-degree corner – Pivot determined by the end point’s X‑value (which corresponds to the Z‑value in world space)
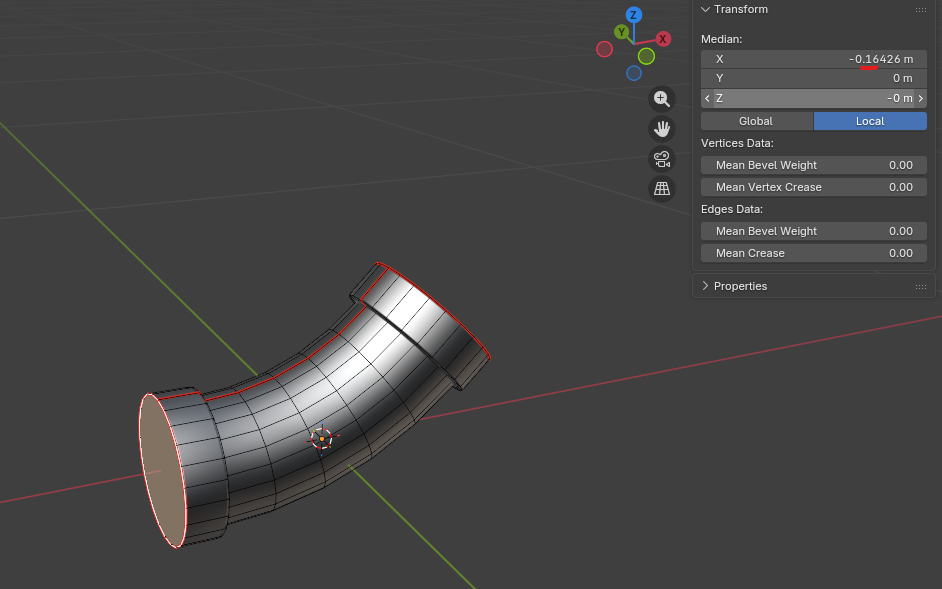
135-degree corner – Similar logic to 45°, but mirrored; pivot appears offset on negative X, yet functions correctly
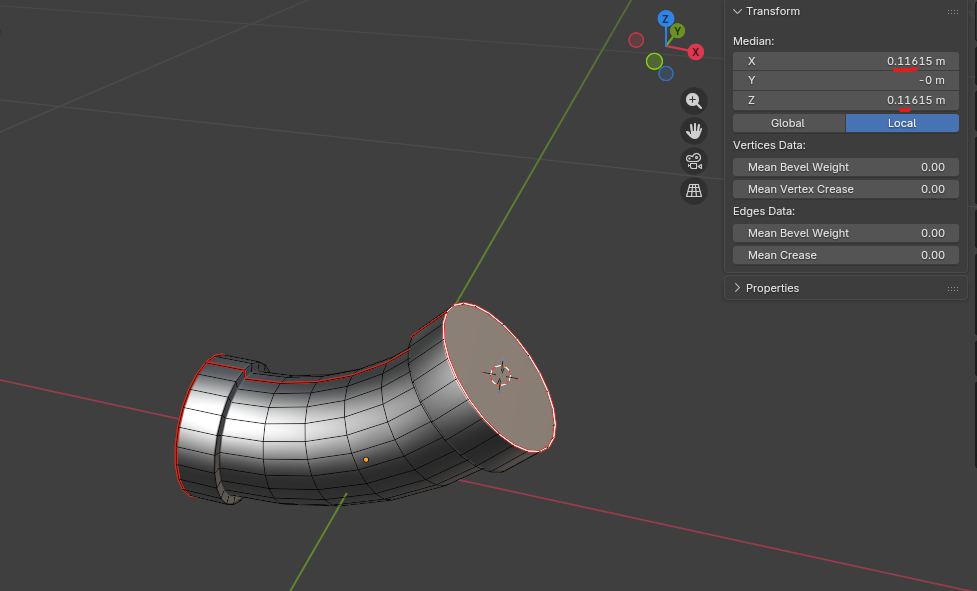
22.5° corner meshes have not been tested, but based on the established pattern, the end point’s Z‑value likely determines both the X‑value and the final pivot placement. This logic should extend consistently to all finer angular divisions.
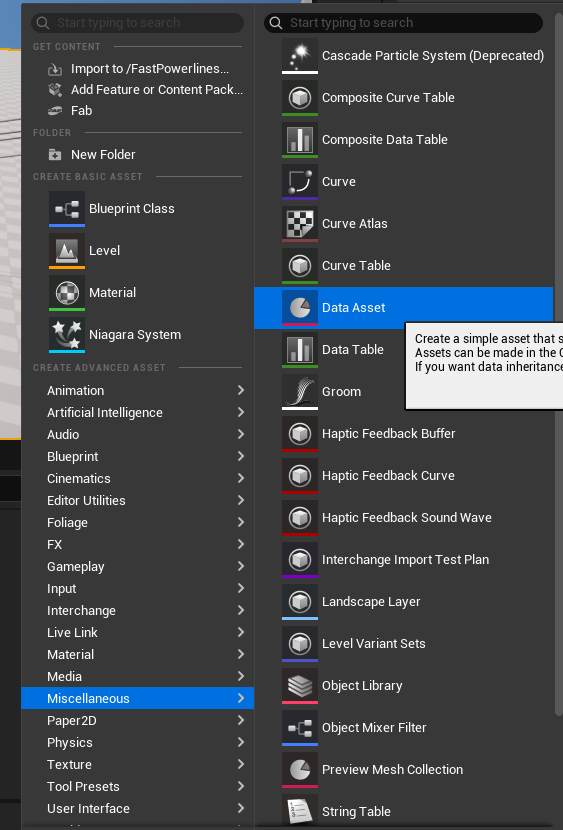
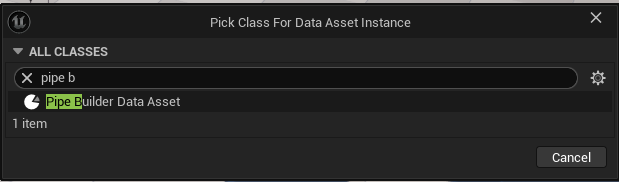
Custom Data Asset
Follow the steps below to create a custom data asset.